







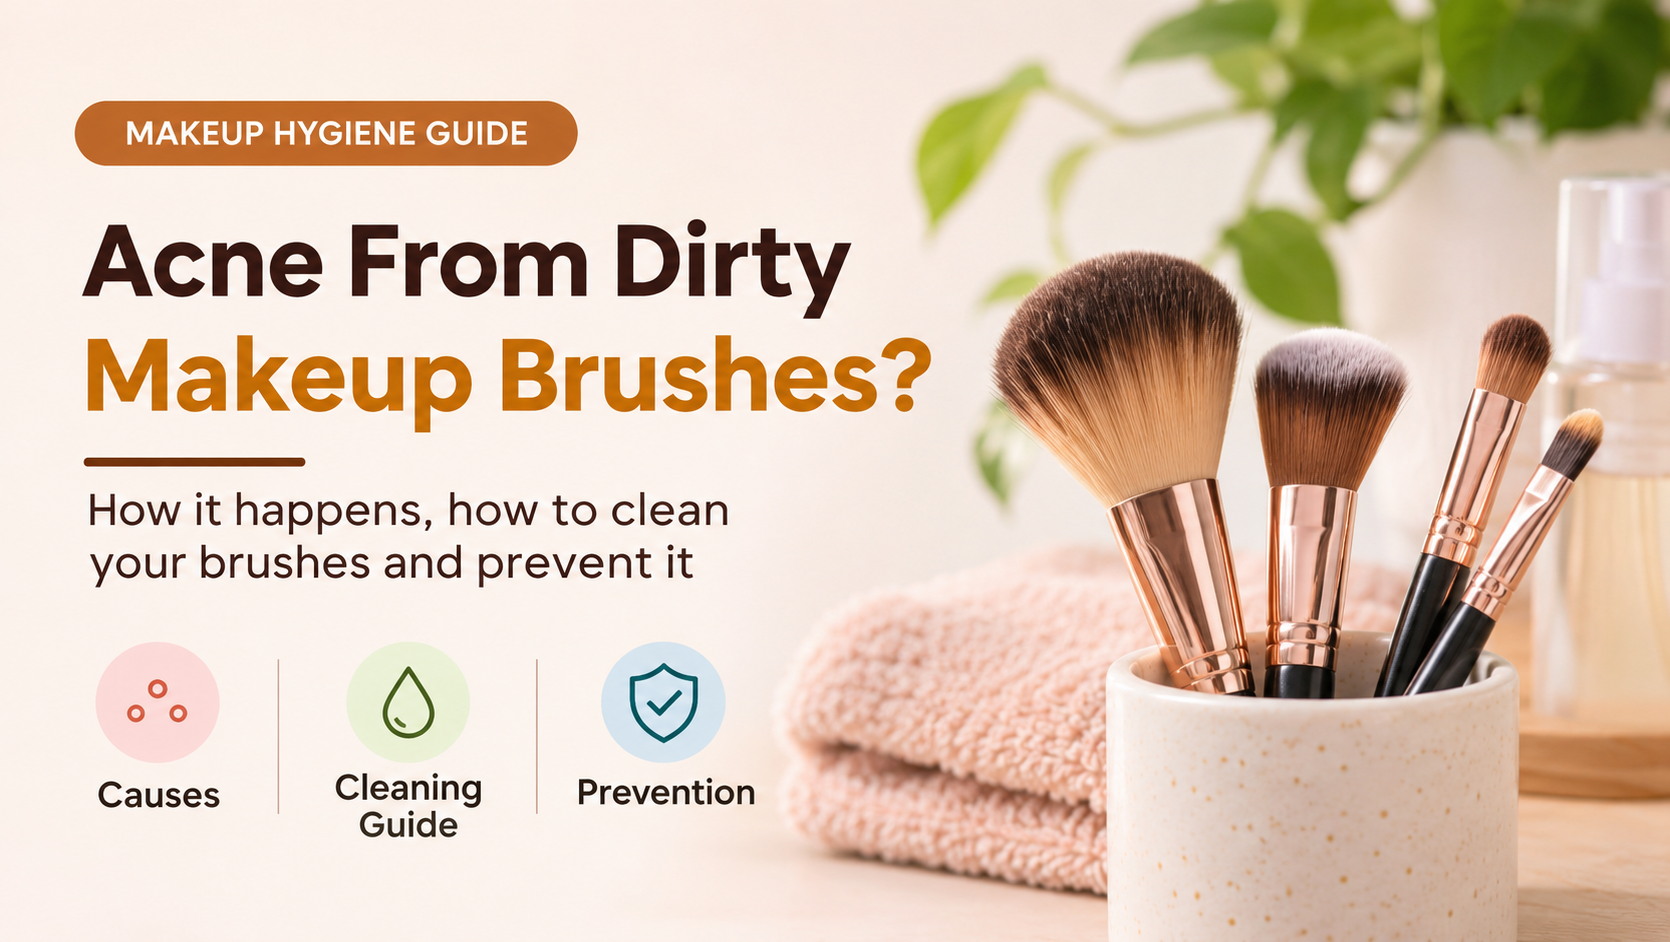
You do everything right with your skincare, then notice new bumps in exactly the places where you apply makeup. The cause might be sitting in your makeup bag. Acne from dirty makeup brushes is a common, preventable problem, and the fix is often as simple as a better cleaning routine.
In this guide you will learn how dirty brushes and sponges can lead to breakouts, how to spot the signs, how often to wash each tool, a step-by-step cleaning method, how to store brushes and when to see a doctor.
Quick Answer
Dirty makeup brushes can hold oil, dead skin, old product and microbes that transfer back to your face and may clog pores or irritate follicles. Wash foundation brushes weekly, powder and eye brushes every 1-2 weeks and sponges after each use, using a gentle cleanser, and dry them fully before storing.
Medical Note
This article is for general information and is not medical advice. If your skin or eyes are painful, infected or not improving, speak to a doctor or dermatologist.
Table of Contents
- Can dirty makeup brushes cause acne?
- What builds up on a makeup brush
- Signs your brushes may be causing breakouts
- How often to clean brushes and sponges
- How to clean makeup brushes step by step
- Sanitizing and cleaning methods
- How to store and protect your tools
- Other makeup habits that cause breakouts
- When to see a doctor
- Frequently asked questions
Can Dirty Makeup Brushes Cause Acne?
Yes, they can contribute to breakouts. Every time you use a brush, it picks up oil, dead skin cells and makeup. If it is not washed, that residue builds up and microbes can multiply, especially if the brush is damp or stored in a humid bathroom. The next time you use it, those particles are pressed back into your skin along with fresh product.
Acne is influenced by hormones, genetics, oil production and skincare, so dirty brushes are rarely the only cause. They are, however, an easy factor to control.
What Builds Up on a Makeup Brush
Oil and sebum
Natural skin oil transfers to the bristles each time you use them, then gets pressed back into pores with fresh makeup.
Dead skin cells
Skin that sheds on your face is picked up by the brush and can settle at the base of the bristles.
Old makeup residue
Foundation, powder and cream product dry and clump, giving microbes a food source and a place to live.
Bacteria and yeast
Warm, damp, product-rich brushes can host microbes, including those that live on skin, which may irritate follicles.
Dust, hair and debris
Brushes stored loose in a bag or on a counter collect particles that then touch your face.
Moisture
Water trapped near the handle encourages microbes to grow, especially in humid bathrooms.
Signs Your Brushes May Be Causing Breakouts
These signs can help you work out whether your tools are a problem. Remember that some conditions look similar to acne, so a professional can confirm the cause.
| What you notice | Possible cause | Next step |
|---|---|---|
| Small bumps and whiteheads where you apply foundation or powder | Clogged pores from residue, oil or a pore-clogging product | Wash tools, review products, simplify routine |
| Red pimples around hair follicles on cheeks or jaw | Folliculitis from bacteria or irritation | Stop using the dirty tool, keep skin clean, see a doctor if it spreads |
| Itchy, red, flaky or burning rash | Allergic or irritant contact dermatitis from a product or a harsh cleaner left on the brush | Stop the product, rinse brushes well, seek advice if it persists |
| Many small, uniform, itchy bumps | Possible fungal acne | See a dermatologist, since treatment differs from regular acne |
| Red, sore or watery eye after eye makeup | Eye irritation or infection linked to contaminated eye tools | Stop eye makeup and see a doctor or eye professional promptly |
- Breakouts mainly appear where your brush touches the skin.
- Your brushes smell musty, look stained or feel stiff and clumpy.
- Spots improve after washing tools or taking a few days off makeup.
- You have not washed your tools for several weeks, or you share them.
How Often to Clean Brushes and Sponges
A routine that is easy to keep is better than a perfect routine you skip. Use this as a guide and wash more often if your skin is acne-prone or sensitive.
| Tool | Wash how often | Replace when |
|---|---|---|
| Foundation, concealer and cream brushes | Once a week; spot clean after use if possible | Bristles shed, fray, smell or will not come clean |
| Powder, blush and bronzer brushes | Every 1-2 weeks | Bristles lose shape or shed heavily |
| Eyeshadow brushes | Every 1-2 weeks | Fraying or stiff bristles |
| Eyeliner, brow and lash tools | Weekly, as they are close to the eyes | Any damage, or after an eye infection |
| Lip brushes | Weekly | Frayed or stained heavily |
| Beauty sponges and puffs | After each use, or every few uses at most | Every 1-3 months, or when torn or discolored |
How to Clean Makeup Brushes Step by Step
- Wet the bristles only. Hold the brush with bristles pointing down so water does not run into the metal ferrule and loosen the glue.
- Add cleanser. Use a drop of gentle shampoo, baby shampoo or a dedicated brush cleanser.
- Swirl and rinse. Work the soap into a lather on your palm or a silicone mat until the foam turns clean, then rinse with lukewarm water.
- Reshape and dry. Press out water, reshape the bristles and lay the brush flat or let it hang with bristles angled down.
- Be patient. Brushes can take several hours to dry. Do not use damp brushes, which can encourage microbes to grow.
Pro Tip
Wash your brushes at night so they have plenty of time to dry. Keep a second set of key brushes, such as foundation and concealer brushes, so you always have a clean one ready.
Sanitizing and Cleaning Methods
| Method | Good for | Notes |
|---|---|---|
| Gentle shampoo or brush cleanser with water | Routine washing of most brushes | Avoid soaking the metal part, which can loosen glue |
| Mild dish soap, occasionally | Heavy cream and foundation build-up | Can be drying; rinse thoroughly and use sparingly |
| 70% isopropyl alcohol spray | Quick sanitizing between washes | Let dry fully; can dry bristles, so do not use daily |
| Silicone cleaning mat or glove | Loosening residue from bristles | Optional, but helpful for dense brushes |
| Dishwasher, microwave or hot dryer | Not recommended | Heat can damage bristles and handles |
How to Store and Protect Your Tools
- Store dry brushes upright in a clean, dry container, with the bristles facing up.
- Keep them out of steamy bathrooms and away from damp spots.
- Use a clean case or pouch when traveling instead of loose in a bag.
- Do not store used sponges in a closed pouch. Let them dry fully first.
- Do not drop brushes on the floor or counter and reuse them without cleaning.
- Never share brushes, especially ones that touch the eyes or lips.
Other Makeup Habits That Cause Breakouts
- Sleeping in makeup. Always remove makeup and sunscreen before bed.
- Using pore-clogging products. Choose non-comedogenic, oil-free formulas if you are prone to breakouts.
- Using the same brush on blemishes and clean skin. Use a clean cotton swab or applicator for spots to avoid spreading bacteria.
- Applying makeup with unwashed fingers. Wash your hands first.
- Using expired products. Old mascara, foundation and eye products can harbor microbes, so replace them on schedule.
- Dipping tools directly into pots. Use a clean spatula to remove cream and liquid product.
When to See a Doctor
- Painful, inflamed, pus-filled or spreading bumps.
- Itchy, burning or blistering rash after using a product or tool.
- Persistent breakouts despite clean tools, simple skincare and consistent habits.
- Any eye pain, redness, swelling, discharge or vision changes after using eye makeup.
- Cold sores or other infections after sharing makeup tools.
- Scarring or dark marks following breakouts.
Urgent Warning
Seek urgent medical care for severe eye pain, vision changes or swelling of the face, lips or eyes after using a product.
Frequently Asked Questions
Can dirty makeup brushes really cause acne?
They can contribute. A dirty brush can transfer oil, dead skin, old product and microbes back onto your face, which may clog pores or irritate follicles. Acne has many causes, so brushes are one possible factor rather than the only one.
How often should I wash my makeup brushes?
Foundation and concealer brushes weekly, powder and eye brushes every 1-2 weeks, and sponges after each use. Wash more often if your skin is acne-prone.
How do I know if my brushes are making me break out?
Look for new bumps in the exact places where you apply makeup, breakouts that improve after you clean tools or take a break from makeup, and brushes that smell, feel stiff or look discolored.
Do I need to sanitize with alcohol?
Washing with a gentle cleanser is the main step. Spraying 70% isopropyl alcohol can help sanitize between washes, but too much can dry out bristles.
Is it okay to share makeup brushes?
It is best not to. Sharing brushes can spread bacteria, viruses and fungi between people, including those that cause eye infections, cold sores and skin infections.
How long do makeup brushes last?
Good quality brushes can last for years if you wash them properly. Replace them when they shed heavily, fray, smell or no longer come clean. Sponges should be replaced much sooner.
Can dirty beauty sponges cause breakouts?
Yes. Sponges are damp and absorb product and oil, which makes them especially prone to build-up. Wash them after each use and replace them every 1-3 months.
When should I see a dermatologist?
See one if bumps are painful, spreading, inflamed or keep returning after you have cleaned your tools and simplified your routine. Seek care promptly for any eye pain, redness, discharge or vision changes.
Final Thoughts
Dirty makeup brushes are an easy and fixable reason for breakouts. By washing your tools regularly, drying them completely, storing them well and avoiding shared or damaged brushes, you reduce the load of oil, residue and microbes your skin has to deal with every day.
Pair clean tools with a consistent skincare routine and good makeup habits, and give your skin several weeks to respond. If bumps are painful, infected or persistent, a dermatologist can help you find the exact cause.