



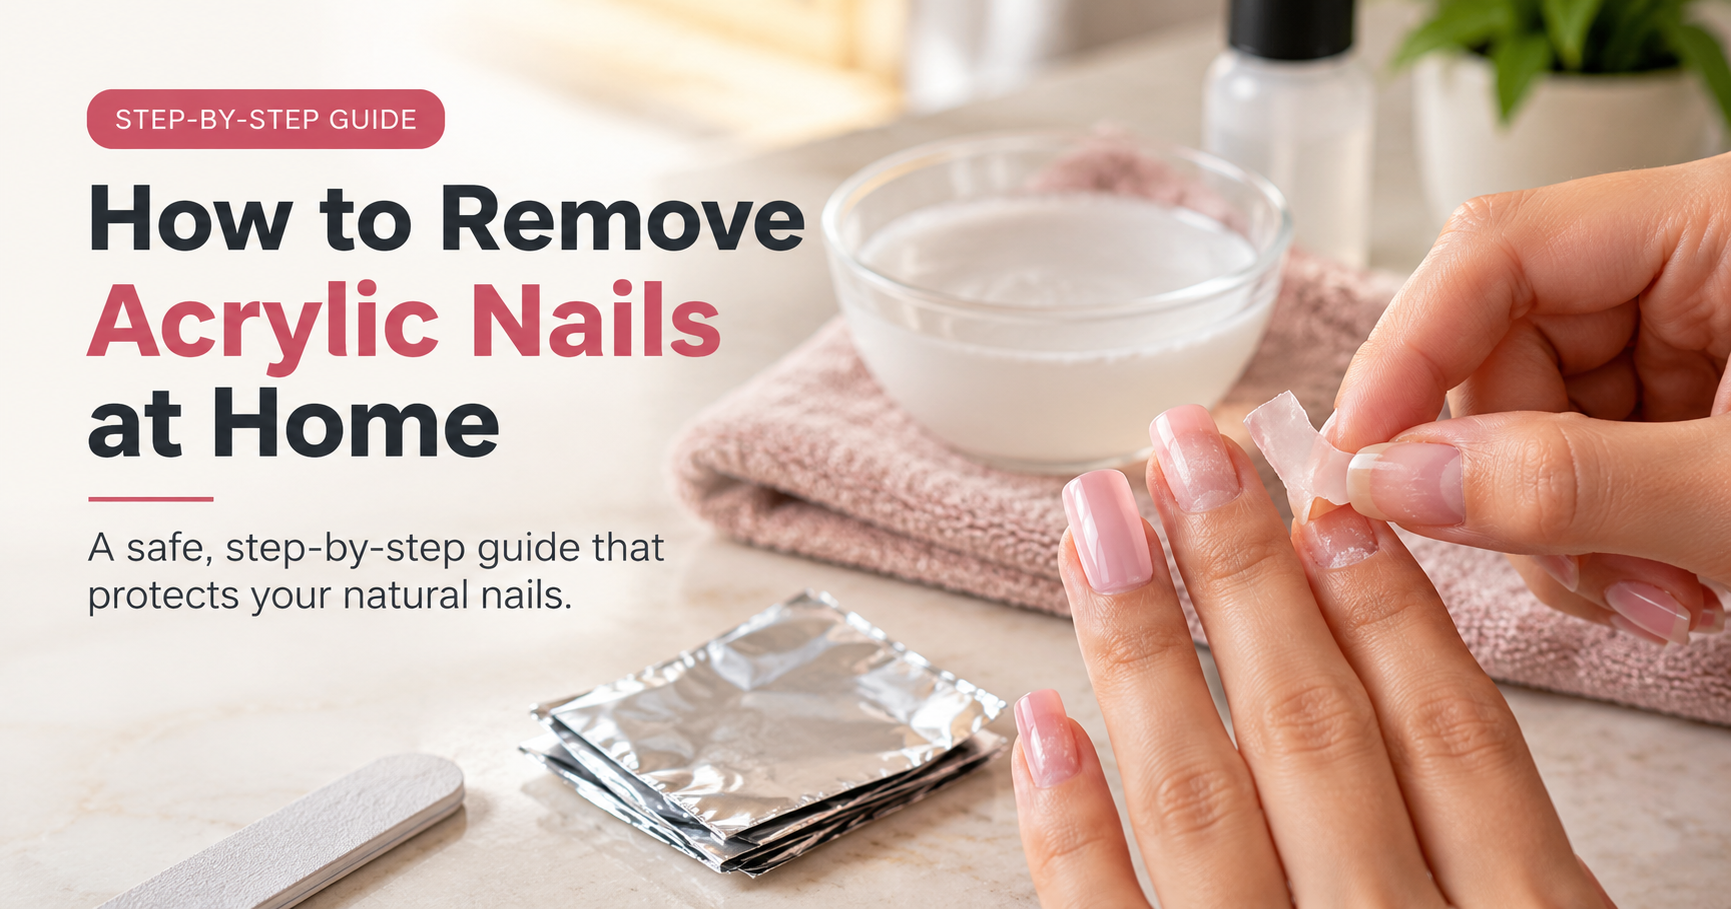

Acrylic nails look polished and last for weeks, but eventually every set has to come off. Maybe your natural nails have grown out, the edges have started to lift, or you simply want to give your hands a rest. Booking a salon appointment is one option, yet many people prefer to handle it themselves. The good news is that learning how to remove acrylic nails at home is very doable when you use the right products and take your time.
The bad news is that rushing the job is the fastest way to damage your natural nails. Peeling, prying, and ripping can strip away layers of the nail plate, leaving nails thin, sore, and sensitive. This complete guide walks you through the safest approach, from the supplies you need and two proven acetone methods, to the mistakes that cause the most damage and the aftercare that helps your nails bounce back.
Quick Answer: How to Remove Acrylic Nails at Home
- Trim the acrylic tips as short as comfortably possible.
- File off the shiny top layer so acetone can reach the acrylic.
- Rub petroleum jelly or cuticle oil on the skin around each nail.
- Soak your nails in pure acetone, or use acetone-soaked cotton wrapped in foil, for 15 to 30 minutes.
- Gently push the softened acrylic away with an orange wood stick. Never pull or pry.
- Buff lightly, wash your hands, and finish with cuticle oil and hand cream.
Can You Safely Remove Acrylic Nails at Home?
Yes, you can remove acrylic nails at home, and with patience the results can be just as clean as a salon removal. The secret is to dissolve the acrylic instead of forcing it off. Acrylic nails are created by mixing a liquid monomer with a polymer powder, which hardens into a tough, plastic-like layer bonded to the surface of your natural nail. That layer is designed to stay put for weeks, which is exactly why it cannot simply be pulled away without consequences.
Acetone is the ingredient that makes safe removal possible. It softens and breaks down the acrylic so it can be gently nudged off. When people skip the acetone and pick or pry instead, they often take thin layers of the natural nail with them. That is the main reason nails feel weak, rough, and painful after a careless removal.
When to Skip DIY and See a Nail Technician
Most healthy nails can be handled at home, but a professional is the better choice in certain situations. Consider booking an appointment if:
- You notice redness, swelling, warmth, throbbing pain, or pus around a nail, which can signal an infection.
- There is green, dark, or unusual discoloration under or beneath an acrylic nail.
- You experience itching, a rash, or swelling around your nails that may point to an allergic reaction.
- Your acrylics are very thick, heavily sculpted, or have been layered over for many months.
- You have a medical condition that affects circulation or healing, such as diabetes, and are unsure whether DIY removal is safe for you.
- You simply feel unsure. A technician can remove the set quickly and check the condition of your nails at the same time.
Supplies You Need to Remove Acrylic Nails at Home
Gathering everything before you begin keeps the process smooth and prevents you from leaving a half-soaked hand to hunt for a missing tool. Here is the full checklist.

- 100% pure acetone: This is the only product that reliably dissolves acrylic. Regular or “non-acetone” nail polish remover is far too weak for the job.
- Nail clippers: Used to shorten the length so there is less acrylic to dissolve.
- Coarse nail file (100/180 grit): Breaks through the glossy top coat and thins the surface layer of acrylic.
- Fine buffer block: Smooths leftover residue once the acrylic is off.
- Cotton balls or pads and aluminum foil: Needed for the foil wrap method.
- Glass or ceramic bowl: Needed for the soak method. Acetone can damage some plastics, so avoid plastic bowls.
- Orange wood sticks or a cuticle pusher: Used to lift and push softened acrylic away without scraping.
- Petroleum jelly or cuticle oil: Forms a protective barrier on your skin before acetone touches it.
- Hand cream and cuticle oil: Restore moisture afterwards.
- Old towel: Protects your table, since acetone can damage varnished or painted surfaces.
Safety Tips Before You Begin
Acetone is flammable and strongly scented. Please read these precautions first.
- Work in a well-ventilated room, ideally near an open window.
- Keep acetone away from open flames, candles, cigarettes, stoves, heaters, and anything that can spark.
- Never microwave acetone or heat it directly. If you want to warm it slightly, place a small glass bowl of acetone inside a larger bowl of warm (not hot) tap water.
- Store acetone in a tightly closed container, out of reach of children and pets.
- Stop immediately if you feel burning, stinging, or notice swelling or a rash.
How to Remove Acrylic Nails at Home: Step-by-Step
The overview below shows the full process at a glance. Each step is explained in detail afterwards, so you know exactly what to do and what to watch for.

Step 1: Trim the Acrylic Length
Start by clipping your acrylic nails down as short as is comfortable. Shorter nails mean less acrylic for the acetone to dissolve, which cuts the soaking time noticeably. Cut in small snips rather than one big squeeze. Forceful clipping can crack the acrylic and send pressure into the natural nail underneath, which can be painful.
Step 2: File Off the Top Layer
Use a 100/180 grit file to remove the shine from the entire surface of each nail. If you are wearing polish, gel color, or a top coat, file through that as well. The goal is to thin the acrylic and break its sealed surface so the acetone can soak in. Use light, even strokes and work gradually. As the acrylic gets thinner, slow down and stop before you reach the natural nail. Over-filing the nail plate is one of the most common causes of post-removal sensitivity.
Tip: Acrylic usually shows as a dull, chalky layer once the glossy finish is gone. That dull surface is exactly what you want before soaking.
Step 3: Protect Your Skin and Cuticles
Acetone is very drying. Apply petroleum jelly or a thick cuticle oil around each nail, over the cuticles, and onto the surrounding fingertip skin. Try to keep the product off the nail surface itself, since a greasy nail will block the acetone. This simple barrier makes a big difference to how your skin feels afterwards.
Step 4: Soak or Wrap with Pure Acetone
Now comes the main event. Choose one of the two methods below. Both work well, and the choice mostly depends on how sensitive your skin is and how much acetone you want to use.
Method A: Bowl Soak
- Pour enough pure acetone into a glass or ceramic bowl to cover your nails completely. About an inch of liquid is usually plenty.
- Submerge the fingertips of one hand so every nail is fully covered.
- Soak for 15 to 30 minutes, checking after the first 10 to 15 minutes.
- Keep the room ventilated and keep the bowl away from any heat source.
Best for: people who want the fastest and most even softening, and who do not mind a little more skin exposure to acetone.
Method B: Foil Wrap
- Cut cotton pieces roughly the size of your nails. Cut foil into squares large enough to wrap around the fingertip (about 2 by 3 inches works well).
- Soak each cotton piece in acetone until it is saturated but not dripping.
- Place a cotton piece directly on each nail and wrap the fingertip firmly with a foil square so the cotton stays pressed against the acrylic.
- Wait 15 to 30 minutes, then check one nail by unwrapping it.
Best for: beginners, people with sensitive or dry skin, and anyone who wants to limit how much skin touches acetone. Only the fingertip is exposed, and you can use a smaller amount of product.
Step 5: Check and Gently Remove the Softened Acrylic
After about 15 minutes, take a look at one nail. Softened acrylic looks cracked, flaky, bubbly, or gummy, and it often lifts at the edges. Use an orange wood stick to gently push the acrylic from the cuticle area toward the tip of the nail. Light pressure is all it needs. If the acrylic resists, that simply means it needs more time, not more force.
Pro tip: Start with your non-dominant hand. Your dominant hand, still wearing its acrylics, will be steadier for the delicate pushing work. Remove the second hand afterwards using your now-natural hand.
Step 6: Repeat on Stubborn Areas
It is normal for some spots to need a second round, especially near the cuticle where the acrylic is thickest. Re-wrap or re-soak those nails for another 10 minutes and try again. If large areas still will not budge after two rounds, re-file the surface a little thinner and repeat. If it still refuses to soften, stop and visit a nail technician rather than scraping or prying.
Step 7: Buff, Wash, and Moisturize
Once the acrylic is gone, you may notice thin patches of residue or a slightly tacky film. Smooth these away with a fine buffer using very light strokes. Do not over-buff, because your natural nails are already thinner and more delicate than usual. Next, wash your hands with a mild soap and warm water to remove acetone and debris. Finish by massaging cuticle oil into each nail and applying a rich hand cream.
Bowl Soak vs. Foil Wrap vs. Acetone-Free Removal
Not sure which approach suits you? The comparison below summarizes the main differences between the three most common ways people try to remove acrylic nails at home.

| Method | Typical Time | Pros | Cons |
|---|---|---|---|
| Acetone bowl soak | 20 to 30 minutes | Fast, even softening across all nails on a hand | Uses more acetone and exposes more skin, so it can be more drying |
| Foil wrap | 15 to 30 minutes | Less skin contact, less acetone needed, easy to check nail by nail | Slightly fiddly, and foil can loosen if not wrapped snugly |
| Acetone-free (soap, water, oil) | Hours to days | Gentlest on skin | Does not dissolve acrylic, so it only helps nails that are already lifting |
Can You Remove Acrylic Nails Without Acetone?
This is one of the most searched questions on the topic, and the honest answer is: only partly. Warm soapy water and oil do not dissolve acrylic. They can soften the skin and help loosen nails that have already started to lift away from the nail bed, but they will not break down acrylic that is still firmly bonded.
If your nails are already loose, you can soak your fingertips in warm water with a little mild soap and a few drops of oil for 10 to 15 minutes, then very gently ease the lifted edges. Some tutorials suggest sliding dental floss under a lifted edge. That is risky, because pulling on acrylic that is still attached can tear layers from the natural nail. If any part of the acrylic is firmly stuck, switch to acetone or see a professional. Patience here protects your nails far better than speed.
How Long Does It Take to Remove Acrylic Nails at Home?
Most beginners need roughly 30 to 60 minutes from start to finish. Trimming and filing typically take 10 to 15 minutes, the soak or wrap takes 15 to 30 minutes, and cleanup and moisturizing take another 5 to 10 minutes. Thicker or older sets, extra-long tips, and acrylic layered over gel can all stretch that timeline. Rather than watching the clock, let the acrylic tell you when it is ready: when it looks cracked and soft and moves easily with light pressure, it is time to remove it.
Common Mistakes to Avoid When Removing Acrylic Nails

- Peeling or prying the acrylic off: This pulls away layers of the nail plate and is the number one cause of thin, painful nails after removal.
- Filing into the natural nail: The aim is to thin the acrylic, not the nail. Stop filing as soon as the acrylic layer is thin and dull.
- Skipping skin protection: Without a barrier, acetone strips moisture from skin and cuticles and can leave them tight, white, and cracked.
- Using non-acetone remover: Standard polish remover will not soften acrylic, and you will end up wasting time and tempted to pry.
- Heating acetone the wrong way: Never microwave it, place it on a stove, or use it near open flames or heaters. Its vapors are flammable.
- Rushing the soak: Removing acrylic before it is properly softened forces you to use pressure. If it does not slide off easily, soak it a little longer.
- Ignoring discomfort: Burning, stinging, swelling, or severe pain are signals to stop, rinse your hands, and seek advice.
Aftercare: What to Do After Removing Acrylic Nails
The hours and days after removal are when your nails need the most attention. Acetone and the filing process leave nails dehydrated, and the surface may be thinner than you are used to. A simple, consistent routine helps restore moisture and protect your nails while they recover.

- Apply cuticle oil twice a day. Massage a small drop into each nail and the surrounding skin. Oils such as jojoba and almond are popular choices.
- Moisturize your hands frequently. Use a rich hand cream after washing your hands and before bed.
- Use a gentle strengthening treatment. Choose a nourishing nail treatment and follow the directions on the label.
- Keep your nails short and smooth. File snags and rough edges promptly so they do not catch and tear.
- Protect your nails during chores. Wear gloves when washing dishes or using cleaning products.
- Avoid picking at leftover residue. If you see a stubborn patch, re-soak that spot instead of scratching it off.
Why Your Natural Nails May Look Thin or Weak Afterwards
It is common for natural nails to look dull, flexible, ridged, or slightly thinner right after acrylics come off. Part of this is simply dehydration from acetone, and part is that the nail surface has been filed and covered for weeks. Your nails are not permanently damaged in most cases. Fingernails grow roughly 3 millimeters per month, and a full nail typically takes about four to six months to grow out completely, so surface roughness gradually grows out with consistent care.
Should You Wait Before Getting a New Set?
There is no single rule that fits everyone. If your nails feel strong and look healthy, you may be comfortable moving straight into a new set. If they feel thin, sensitive, or bendy, a break of a couple of weeks or longer gives them time to rehydrate and recover. Many nail professionals recommend a short rest between sets, especially if you have noticed peeling or brittleness. Listen to your nails and let their condition guide you.
What to Look For When Buying Nail Removal Supplies
You do not need an expensive kit, but a few quality basics make the process easier and gentler. Use this table as a shopping checklist the next time you stock up.
| Product | Why You Need It | What to Look For |
|---|---|---|
| Pure acetone | Dissolves acrylic so it can be removed safely | Label that states 100% acetone, with a secure cap |
| Nail clippers | Shortens the acrylic before soaking | Sharp, sturdy blades that can handle thick acrylic |
| Coarse nail file | Breaks the glossy top layer | 100/180 grit with a firm, even surface |
| Glass or ceramic bowl | Holds acetone safely for soaking | Wide enough for your fingertips, and not plastic |
| Cotton pads and foil, or reusable removal clips | Keeps acetone against each nail in the wrap method | Lint-free pads and pre-cut foil squares, or clips that hold firmly |
| Orange wood sticks | Lifts softened acrylic without harsh scraping | Smooth, splinter-free sticks, or a rubber-tipped pusher |
| Fine buffer block | Smooths leftover residue | Fine grit with a soft, flexible feel |
| Cuticle oil | Restores moisture to nails and skin | Jojoba, vitamin E, or almond oil in a dropper or pen applicator |
| Hand cream | Rehydrates skin after acetone exposure | Rich formulas with shea butter or glycerin, fragrance-free if you have sensitive skin |
| Petroleum jelly | Creates a protective barrier before acetone | Plain, fragrance-free petrolatum |
Frequently Asked Questions
Can I remove acrylic nails with regular nail polish remover?
Not effectively. Non-acetone removers are designed to dissolve polish, not hardened acrylic. Even removers that contain some acetone are usually too diluted. For acrylic, choose a product labeled 100% pure acetone.
How long should acrylic nails soak in acetone?
Most acrylic nails soften within 15 to 30 minutes. Check after the first 10 to 15 minutes and continue only as long as needed. Thicker sets may take a little longer, but if nothing has changed after 30 minutes, re-file the surface and try again instead of simply soaking for hours.
Can I just peel or pull acrylic nails off?
Please do not. Acrylic is bonded to the surface of your natural nail, so pulling it off can remove thin layers of the nail plate along with it. This leaves nails weak, painful, and slow to recover. Soak the acrylic until it releases easily.
What if the acrylic will not come off after 30 minutes?
Re-file the top layer a little thinner, apply fresh acetone-soaked cotton, and wrap for another 10 to 15 minutes. If the acrylic still will not soften, it may be thicker than average or made from a product that resists acetone. At that point, a professional removal is the safest option.
Does acetone damage natural nails?
Acetone is drying to both nails and skin, especially with repeated or prolonged exposure. Used sparingly, with a skin barrier beforehand and moisturizing aftercare, it is the standard tool for removing acrylic. Most dryness improves quickly with regular cuticle oil and hand cream.
Can I remove dip powder or gel nails the same way?
The process is similar for dip powder and soft gel polish: file the surface, then soak or wrap with acetone. Hard gel and builder gel, however, generally do not dissolve in acetone and usually need to be carefully filed down or removed by a professional.
Is it normal for my nails to feel sensitive after removal?
Mild sensitivity, flexibility, and a dull appearance are common because the nails have been covered and then exposed to acetone. Keep them moisturized and avoid harsh products. If you have persistent pain, bleeding, or signs of infection, contact a healthcare provider or nail professional.
How can I remove acrylic nails if I have sensitive skin?
Choose the foil wrap method so only your fingertips touch acetone, apply a generous layer of petroleum jelly around each nail, and work in short sessions. Wash your hands thoroughly afterwards and follow up with a fragrance-free hand cream. Stop immediately if you notice irritation.
Final Thoughts
Learning how to remove acrylic nails at home comes down to three principles: dissolve instead of pry, protect your skin, and give your nails care afterwards. With 100% pure acetone, a bit of filing, and 15 to 30 minutes of patience, most people can remove a full set without a salon visit. The method you choose, whether a bowl soak or a foil wrap, matters less than avoiding force and working in a ventilated space away from heat.
Once your nails are free, treat them kindly. Cuticle oil, hand cream, smooth edges, and a little rest go a long way toward restoring strength and shine. Do that consistently, and your natural nails will be ready for whatever look comes next.
Key Takeaways
- Use 100% pure acetone. Regular polish remover will not soften acrylic.
- Trim, then file off the shiny top layer so acetone can penetrate.
- Protect your skin and cuticles with petroleum jelly or oil before soaking.
- Soak or wrap for 15 to 30 minutes, then gently push, never pry or peel.
- Re-soak stubborn areas instead of using force.
- Moisturize daily and give your nails time to recover.