







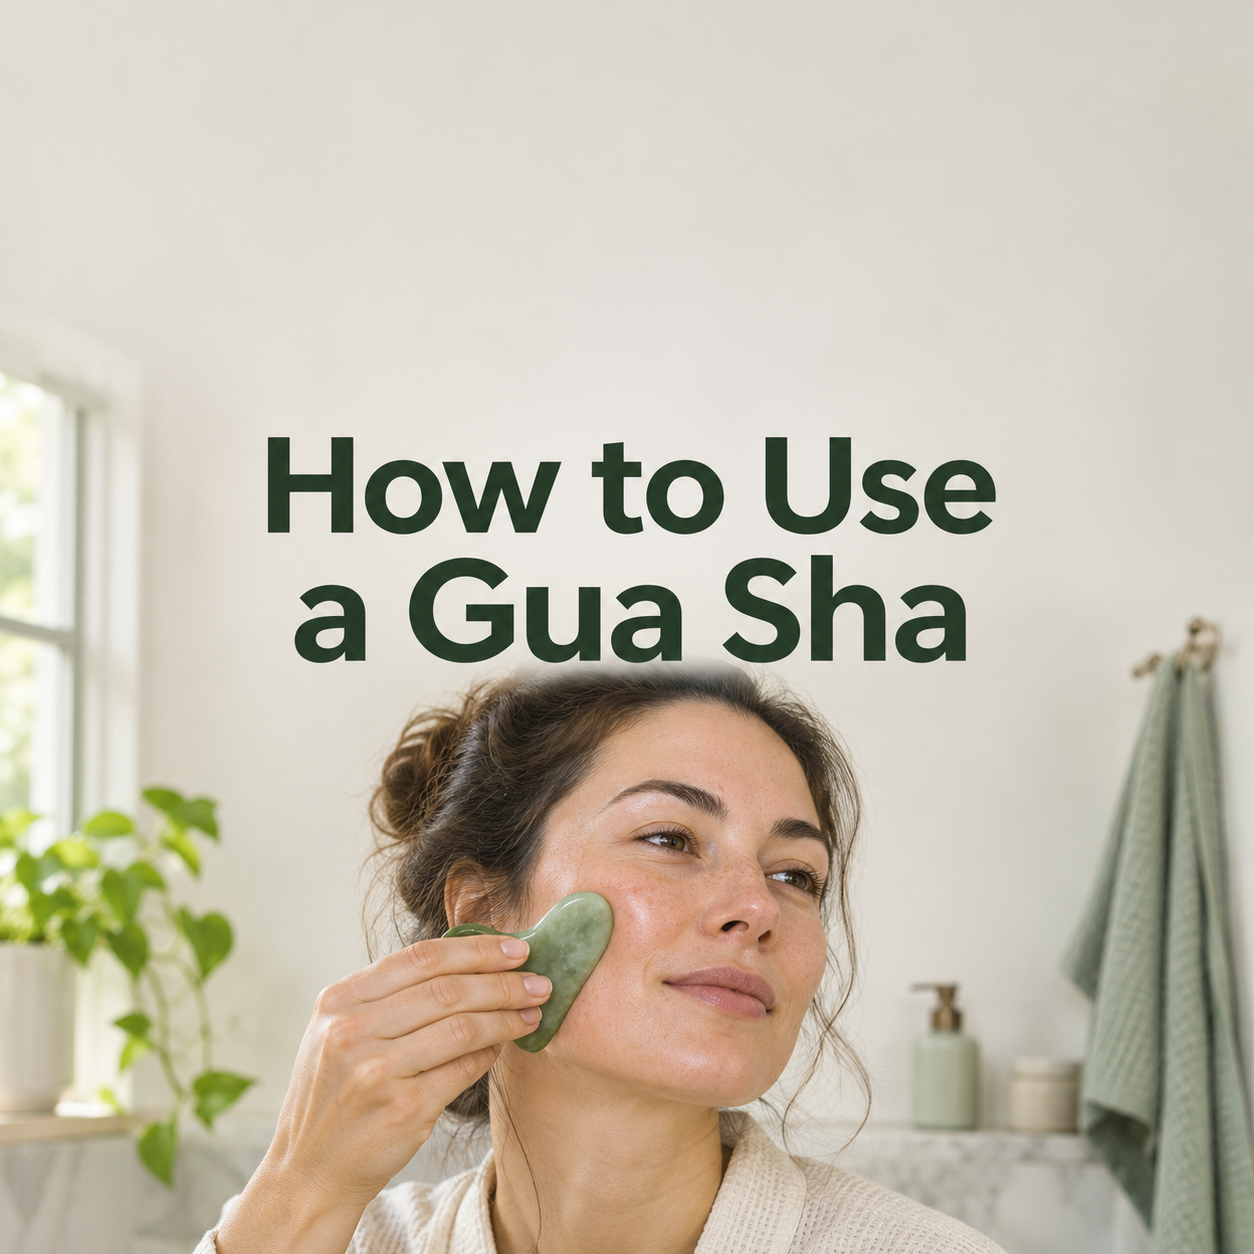
How to Use a Gua Sha: A Complete Step-by-Step Guide for Beginners

Gua sha has moved from traditional Chinese medicine into bathroom shelves around the world, and for good reason. It takes about five minutes, costs very little, and many people find it relaxing and visibly de-puffing. But a gua sha tool is only as good as the technique behind it. Press too hard, use the wrong angle, or skip the facial oil, and you can end up with irritated skin instead of a calm, sculpted look.
This guide explains exactly how to use a gua sha, from choosing the right tool and preparing your skin to the correct angle, pressure, stroke direction and aftercare. Whether you have never held a gua sha stone or you want to fix bad habits, you will find a clear routine you can start tonight.
Quick answer: Cleanse your face, apply a facial oil or serum for slip, and hold the gua sha almost flat against your skin (about 15 degrees). Use light to medium pressure and glide in slow strokes, always moving upward and outward: neck, jawline, cheeks, under the eyes, brows and forehead. Do 5 to 10 strokes per area, 3 to 5 times a week, then clean your tool and finish with moisturizer.
What Is a Gua Sha?
“Gua” means to scrape and “sha” refers to the temporary redness that scraping can bring to the surface in body treatments. Traditional gua sha has been used in parts of East and Southeast Asia for centuries, usually on the back, neck and shoulders, to ease muscle tightness.
Facial gua sha is a much gentler modern adaptation. It does not aim to leave marks. Instead, a smooth, flat tool is glided over the face and neck with oil, using light pressure and rhythmic strokes. The goal is to relax facial muscles, encourage fluid to move away from puffy areas and give the skin a lifted, refreshed look.
What Can a Gua Sha Do for Your Skin? (And What It Cannot)
It is worth setting realistic expectations. People who use gua sha regularly commonly report the following effects:
- Less morning puffiness: light, directional strokes may help move trapped fluid, especially around the eyes, cheeks and jaw.
- Relaxed facial tension: the jaw, temples and forehead hold a surprising amount of stress, and slow massage can ease it.
- A temporary glow: massage increases blood flow to the surface, which gives the skin a brighter look for a short time.
- Better product feel: gliding a tool over serum or oil can help you spread product evenly and make a routine feel more intentional.
- A calming ritual: a few minutes of slow, mindful movement is a simple way to unwind at the end of the day.
Research on facial gua sha is still limited, and most of the evidence is small-scale or anecdotal. It will not permanently change your bone structure, remove deep wrinkles or replace sun protection, good skincare and medical treatment. Think of it as a supportive, relaxing habit with short-term visible benefits, not a surgical-style facelift.
Choosing the Right Gua Sha Tool
Gua sha tools come in many materials and shapes. Whichever you pick, make sure the edges are smooth and rounded, with no chips, rough spots or sharp corners that could scratch your skin.
Common Materials Compared
Popular Gua Sha Shapes

- Heart shape: the all-rounder. The curved edge follows the jawline, cheeks and forehead, and the notch sits neatly under the chin.
- Concave or wing shape: a long curved edge that fits cheekbones, brows and the sides of the neck.
- Comb edge: teeth that slide through the hairline and are popular for scalp and neck tension.
If you are a beginner, a smooth heart-shaped tool is the easiest place to start because one tool covers almost your whole routine.
What to Look for Before You Buy
- Smooth, evenly polished edges with no chips or rough patches
- A size that fits comfortably in your palm
- A flat side for large areas and a curved side for contours
- A material you can clean easily
- A protective pouch or box for storage
What You Need Before You Start
- Your gua sha tool, cleaned before every use
- A facial oil, serum or slip-rich balm so the tool can glide without tugging
- A clean towel or soft cloth
- A mirror, ideally in good light
- A headband or clip to keep your hair back
- Five to ten minutes of quiet time
Step 1: Prepare Your Skin and Your Tool
- Wash your hands and your tool with mild soap and warm water, then dry them. A dirty tool can transfer oil and bacteria to your face.
- Cleanse your face to remove makeup, sunscreen and sweat so you are not rubbing them into your pores.
- Apply a generous layer of facial oil or serum. The skin should feel slippery, not tacky. If the tool starts to drag, add more product.
- Pull your hair back so it does not get caught in the tool.
- Do a patch test the first time. Try a few light strokes on the side of your jaw and wait a few hours to confirm your skin is comfortable with both the tool and the oil.
Step 2: Learn the Right Angle and Pressure
Most gua sha mistakes come down to angle and pressure. Hold the tool nearly flat against the skin, around 15 degrees, so the broad edge glides over the surface. A steep angle makes the edge dig and drag, which can irritate the skin and stretch it in the wrong direction.

For pressure, imagine smoothing cream over a cake. It should feel firm enough to move the skin slightly but light enough that you could do it comfortably for several minutes. The skin should look slightly pink at most, never red, blotchy or marked. If you see bruising, you are pressing far too hard.
Pressure guide: Neck and jaw can handle light to medium pressure. Cheeks need light to medium pressure. Under the eyes, brow bone and temples need very light pressure only.
Step 3: The Full Gua Sha Face Routine
Always work upward and outward, and lift the tool at the end of each stroke rather than dragging it back. Move slowly. Each stroke should take about two to three seconds. Repeat each area 5 to 10 times.

1. Neck
Start with the neck because it helps you warm up and makes the rest of the routine more comfortable. Place the flat edge at the base of your neck near the collarbone and glide upward toward the jawline. Do both sides, using light pressure. Never press on the front of the throat. Stay on the sides and back of the neck.
2. Jawline
Tuck the notch of a heart-shaped tool under your chin, or use the curved edge along the jaw. Slide from the center of the chin out toward the earlobe. This area stores a lot of tension, especially if you clench your teeth, so this step often feels the best.
3. Cheeks
Place the tool beside your nose and glide outward along the cheekbone toward the ear. For a second pass, start at the corner of the mouth and move toward the middle of the ear. Keep the tool flat and use light to medium pressure.
4. Under the Eyes
This skin is very thin, so use the lightest touch of the whole routine. Use the smaller curved edge, start at the inner corner of the eye and glide gently toward the outer corner, resting on the bone rather than pressing into the eyeball area. Skip this area if you have any eye irritation or condition.
5. Brows
Place the curved edge between your brows and glide outward over the brow bone toward the temple. Add a gentle upward sweep from the brow line toward the temple. This eases the tight feeling many people get from squinting or screen time.
6. Forehead
Start between the brows and sweep up toward the hairline, then glide from the center of the forehead out toward the temples. Use light pressure, since there is little padding over the bone here.
Finish With the Temples
Make a few tiny, gentle circles at the temples, then glide from the temple down the side of the neck toward the collarbone. This last step guides everything you have moved toward the area where fluid naturally drains.
Routine at a Glance
How Often Should You Use a Gua Sha?
For most people, three to five times a week for five to ten minutes is plenty. If your skin is sensitive, start with once or twice a week and build up slowly. Using it every day is not necessary and is not better, since more pressure and more frequency does not mean more results. Consistency over weeks matters far more than intensity in a single session.
Morning is a good time if you want to reduce puffiness. Evening works well if you want to unwind. A tool kept in the fridge for a short time before use can feel especially soothing on puffy skin, but never freeze it, since extreme cold can crack stone and shock your skin.
Gua Sha for Specific Concerns
- Puffy face in the morning: spend extra time on the neck, jawline and cheeks, using slow, light strokes.
- Jaw tension from clenching: focus on the jaw and the area in front of the ear with gentle, slow strokes.
- Tension headaches or tight temples: include the temples and the hairline, and use a comb-edge tool along the scalp if you have one.
- Dull-looking skin: a full routine with a light oil can give a short-term glow, though it will not replace exfoliation or sun protection.
- Neck and shoulder tightness: use the flat edge along the sides of the neck and tops of the shoulders with light pressure.
Facial Gua Sha vs. Body Gua Sha
Traditional body gua sha uses firmer pressure on the back, shoulders or legs and can leave temporary red or purple marks (sha). That is a different technique from the gentle facial method in this guide. If you want to try it on the body, it is best to learn from a trained practitioner and never use facial-level tools aggressively on your face. On the face, the goal is soft pink skin at most, never marks.
Common Gua Sha Mistakes to Avoid
- Using no oil: dry skin plus a tool equals tugging and friction.
- Pressing too hard: deeper pressure irritates the skin and does not improve results.
- Holding the tool at a steep angle: keep it close to flat.
- Dragging downward: always move upward and outward.
- Going too fast: slow strokes are what encourage relaxation and drainage.
- Using a dirty tool: clean it before and after every session.
- Working over active breakouts or sunburn: this can spread bacteria or worsen irritation.
- Expecting instant, permanent changes: results are subtle and temporary, and they build with regular use.
Who Should Avoid or Be Careful With Gua Sha?
Gua sha is generally considered low risk when done gently, but it is not right for everyone. Skip it, or speak to a doctor or dermatologist first, if any of the following apply:
- Active acne, cystic breakouts, open sores, cuts or a skin infection
- Sunburn, rosacea flare-ups, eczema flares or very reactive skin
- Recent facial procedures, injections, fillers or laser treatments
- Blood-thinning medication or a tendency to bruise easily
- Pregnancy, any serious medical condition or a facial nerve problem
Stop immediately if you notice pain, burning, swelling, bruising or lasting redness.
Aftercare: What to Do When You Finish
- Dab off any extra oil, then follow with your usual moisturizer to seal in hydration.
- If it is morning, finish with a broad-spectrum sunscreen.
- Drink a glass of water, since staying hydrated supports healthy-looking skin.
- Wash the tool with mild soap and warm water, rinse, and dry it completely with a clean cloth.
How to Care for and Store Your Tool
- Wash after every use to remove oil and skin residue.
- Keep stone tools away from extreme heat, boiling water and hard falls, which can crack them.
- Store the tool in a soft pouch or box so edges do not chip.
- Do not share your tool with others unless you sanitize it thoroughly in between.
- Replace it if you notice cracks, chips or rough spots.
Frequently Asked Questions
Do you use gua sha on dry or wet skin?
Neither dry nor soaking wet. Use it on clean skin with a layer of facial oil, serum or balm so the tool glides smoothly.
Which direction should you move a gua sha?
Move upward and outward on the face, and upward along the neck. Avoid pulling downward, and always lift the tool at the end of the stroke.
How long does a gua sha session take?
A full face and neck routine takes about 5 to 10 minutes. Beginners can start with 3 to 5 minutes and add areas as they get comfortable.
Can gua sha cause bruising?
It should not on the face. Bruising or deep redness is a sign of too much pressure or a steep angle. Lighten your touch and lower the angle.
How long until you see results?
Some people notice reduced puffiness and a relaxed feeling right after a session. Longer-lasting changes, if any, tend to be subtle and show up with several weeks of consistent use.
Is gua sha good for sensitive skin?
Many people with sensitive skin can use it gently, but start with light pressure, a soothing oil and short sessions only one or two times a week. Do a patch test first, and avoid it during flare-ups.
What is the best oil for gua sha?
Any lightweight facial oil or slippery serum that suits your skin type works. Choose something non-irritating and fragrance-light, especially if your skin is sensitive. If you are acne-prone, look for non-comedogenic options.
Can I use gua sha on my scalp?
Yes, a comb-edge or smooth tool can be used on the scalp with gentle pressure to ease tension. Keep strokes slow and avoid any irritated or sore areas.
Final Thoughts
A gua sha is simple, but good technique makes all the difference. Prepare your skin with oil, keep the tool nearly flat, use light to medium pressure, and move slowly upward and outward through the neck, jaw, cheeks, eyes, brows and forehead. Do it a few times a week and treat it as a relaxing ritual rather than a quick fix, and it can become one of the most enjoyable parts of your skincare routine.
Disclaimer: This article is for general information only and is not medical advice. If you have a skin condition, health concern or recent cosmetic procedure, talk to a doctor or dermatologist before trying gua sha.