







Your makeup brushes touch your skin every single day, and over time they collect oil, dead skin cells, bacteria, and layers of leftover product. Learning how to clean makeup brushes properly keeps your skin clearer, makes your makeup blend more smoothly, and helps your favorite brushes last for years instead of months.
In this complete guide you will find a simple deep-cleaning routine, quick spot-cleaning tips, advice for sponges, a washing schedule, and the most common mistakes to avoid.
Disclosure: This site may earn a small commission from qualifying purchases of products mentioned in our guides, at no extra cost to you.
Why Cleaning Your Makeup Brushes Matters
- Healthier skin: Dirty brushes can transfer bacteria and oil back to your face and may contribute to breakouts and irritation.
- Better makeup application: Product buildup makes bristles stiff, causing streaks, patchy blending, and muddy colors.
- Longer brush life: Regular gentle cleaning protects bristles and glue from the damage caused by residue.
- Better value: Quality brushes are an investment, and proper care helps you get more out of them.
How Often Should You Clean Makeup Brushes?
The right schedule depends on what the brush is used for. Brushes used with wet or cream products need cleaning more often than those used with dry powders.
| Brush / Tool | Deep clean | Spot clean |
|---|---|---|
| Foundation & concealer brushes | Weekly | After every use |
| Cream & liquid products | Weekly | Every 2–3 uses |
| Powder, blush & bronzer brushes | Every 2 weeks | Weekly |
| Eyeshadow brushes | Every 2 weeks | After each color change |
| Beauty sponges | After every use | — |
What You Need to Clean Makeup Brushes
You do not need expensive equipment. Most of the supplies are probably in your home already.
- Gentle cleanser: a dedicated brush shampoo, mild baby shampoo, or a small drop of mild dish soap.
- Lukewarm water: never hot, as heat can melt the glue holding the bristles.
- Silicone brush cleaning mat (optional): the textured surface loosens makeup quickly, though your palm works too.
- Clean towel: a soft microfiber or paper towel for drying and reshaping.
- Optional extras: a brush drying rack, a spray cleaner for quick sanitizing, and brush guards to keep shape.
How to Clean Makeup Brushes: Step-by-Step Deep Clean
Step 1: Wet the Bristles
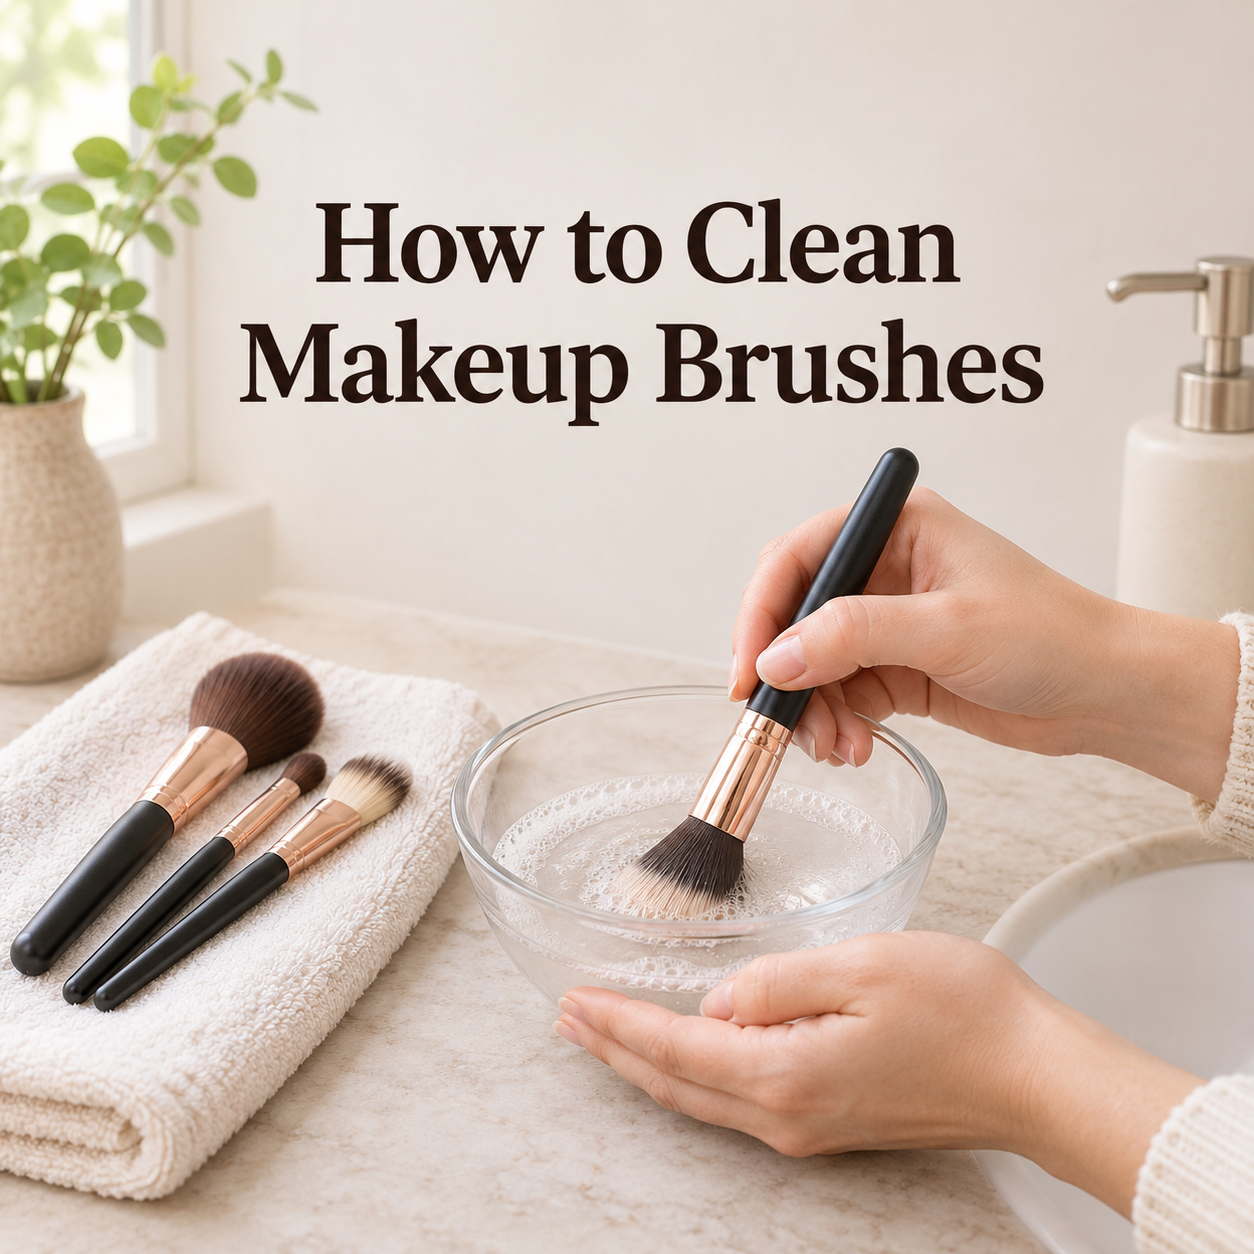
Hold the brush with the bristles pointing downward under lukewarm running water. Wet only the bristles and avoid soaking the ferrule (the metal part), because water that seeps inside can loosen the glue and cause shedding.
Step 2: Apply Cleanser
Add a small amount of cleanser to your palm or silicone mat. Swirl the bristles in gentle circles, working up a lather. Heavily loaded foundation brushes may need a little extra time and a second round of soap.
Step 3: Rinse Thoroughly
Rinse under lukewarm water, again with the bristles pointing down, squeezing gently from the base to the tip until the water runs completely clear. Repeat the wash if you still see color.
Step 4: Remove Excess Water and Reshape
Gently squeeze the bristles with a clean towel. Never pull or twist hard. Reshape the brush head to its original form with your fingers.
Step 5: Dry Properly
Lay the brushes flat on a towel with the bristles hanging slightly over the edge of a counter, or use a drying rack that holds them upside down. This allows water to drain away from the handle.
Allow 8 to 24 hours for full drying. Avoid using a hairdryer on high heat, as it can damage the bristles.
How to Spot Clean Brushes Between Washes
For quick maintenance, spray a brush cleaner onto a paper towel and swirl the bristles across it until the color lifts. Alcohol-based sprays dry fast, so they are ideal for eyeshadow brushes when switching colors. Use them occasionally rather than constantly, since alcohol can dry out natural bristles.
How to Clean Makeup Sponges
Wet the sponge so it expands, add a little cleanser, and squeeze it repeatedly until the foam turns white and the water runs clear. Squeeze out the water and let it air dry in an open space. Replace sponges every one to three months, or sooner if they tear or smell.
Natural vs. Synthetic Bristles: Any Difference?
- Synthetic brushes handle cream and liquid products and tolerate regular washing well.
- Natural hair brushes absorb more oil, so use a gentle shampoo and occasionally a drop of conditioner to keep the hair soft.
Common Mistakes to Avoid
- Using very hot water, which can dissolve the glue.
- Soaking brushes with the handles submerged.
- Standing wet brushes upright, which lets water seep into the ferrule.
- Scrubbing aggressively, which bends and frays bristles.
- Skipping the rinse, leaving soap residue that irritates skin.
- Storing brushes before they are fully dry, which can cause mildew and odor.
Helpful Products to Make Brush Cleaning Easier
If you wash your brushes often, a few inexpensive tools can speed things up: a dedicated brush shampoo or solid brush soap, a silicone cleaning mat or glove, a quick-dry spray cleaner, a hanging drying rack, and protective brush guards. Choose fragrance-free, gentle formulas if you have sensitive skin.
Frequently Asked Questions
Can I use dish soap to clean makeup brushes?
Yes, a small amount of mild dish soap works well for heavily built-up foundation brushes, but rinse thoroughly and follow with a gentle shampoo occasionally so natural bristles do not dry out.
How often should I wash my makeup brushes?
Wash face brushes weekly and eye brushes every one to two weeks. Spot clean in between.
How long do brushes take to dry?
Most brushes dry in 8 to 24 hours depending on size and density. Do not use them until they are completely dry.
Can I put brushes in the washing machine or dishwasher?
No. Heat and agitation loosen the glue and warp the bristles.
Why do my brushes smell bad after washing?
A musty smell usually means moisture is trapped inside. Dry them in a ventilated spot with bristles hanging over an edge, and make sure you rinse out all the soap.
Final Thoughts
Clean brushes mean cleaner skin, smoother makeup, and tools that last. Set a simple weekly routine, wash gently with lukewarm water, and always dry bristles-down. After a few rounds, the whole process takes only a few minutes and quickly becomes second nature.