





Press-on nails are one of the easiest ways to get a salon-style manicure at home. They go on in minutes, look flawless for days, and need no drying time. But there is one part of the process that many people get wrong: taking them off.
Rip them off in a hurry and you can pull away layers of your natural nail along with the glue. The result is a thin, bendy, sore nail that can take months to recover. The good news is that removing press-on nails safely is simple once you know the right method.
In this complete guide, you will learn how to remove press-on nails at home, whether they were attached with nail glue or adhesive tabs. You will also find out which method suits which situation, how to deal with leftover glue, how to reuse your press-ons, and how to care for your natural nails afterward so they stay strong and healthy.
Quick Answer
To remove press-on nails safely, soak your fingertips in warm, soapy water for 10 to 15 minutes, rub cuticle oil around the edges of each nail, gently lift one side with an orange stick, and slide the nail off slowly. If your nails were applied with strong nail glue, use an acetone soak instead. Never pull or pry the nails off by force.
Why You Should Never Pull Press-On Nails Off
Your natural nail plate is made of many thin layers of keratin, the same protein found in hair and skin. When a press-on nail is stuck down with glue, the glue bonds to the top layers of that surface. If you yank the press-on off before the glue has softened, those top layers come off with it.
Pulling press-on nails off by force can cause:
- Thin, weak nails that bend or tear easily
- Peeling and splitting at the free edge
- White patches and rough, uneven spots on the nail surface
- Soreness and sensitivity at the fingertip
- Damage to the nail bed in more serious cases
Fingernails grow only about 3 millimeters per month, so damage to the surface can take several months to grow out completely. A few extra minutes spent soaking is a very small price compared with that.
What You Need to Remove Press-On Nails
You probably already own most of what you need. Gather everything before you begin so you do not have to rush or stop halfway through.
- A bowl of warm water: Comfortable to the touch, never hot. Hot water can irritate the skin and does not work any better.
- Mild soap or dish soap: A few drops help the water get under the edges of the nails.
- Cuticle oil or a skin-friendly oil: Jojoba, almond, olive, or baby oil all work. Oil creeps under the nail edge and helps loosen the bond.
- An orange stick or a plastic cuticle pusher: Wood and plastic are gentle on the nail. Avoid sharp metal tools.
- Dental floss: Helpful for stubborn corners once the glue has softened.
- Pure acetone (optional): Only needed for strong nail glue.
- A soft nail buffer: To smooth away any leftover glue.
- Hand cream: To restore moisture at the end.
First, Check How Your Press-On Nails Are Attached
The right removal method depends on what is holding the nails on. Take a moment to identify it.
- Adhesive tabs (sticker tabs): These give a lighter hold and usually last a few days. They are the easiest to remove and often come off with a warm soapy water soak and a little oil.
- Nail glue: Liquid glue creates a much stronger bond and can last one to two weeks. It needs a longer soak and sometimes acetone.
- Tabs plus glue: Some people use both for extra hold. Treat these like glue-on nails.
Note: This guide covers press-on nails attached with glue or adhesive tabs. If your tips were attached with gel and cured under a lamp, such as gel extension systems, they usually need to be filed down and soaked in acetone, or removed by a nail technician.
Method 1: Warm Soapy Water and Oil Soak (Best for Adhesive Tabs)
This is the gentlest and safest way to remove press-on nails. It works best for nails held on with adhesive tabs, and it also works for light glue application. It uses nothing harsh, so it is a good first choice for nearly everyone.
Step-by-Step Instructions
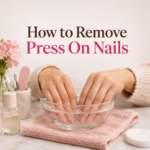
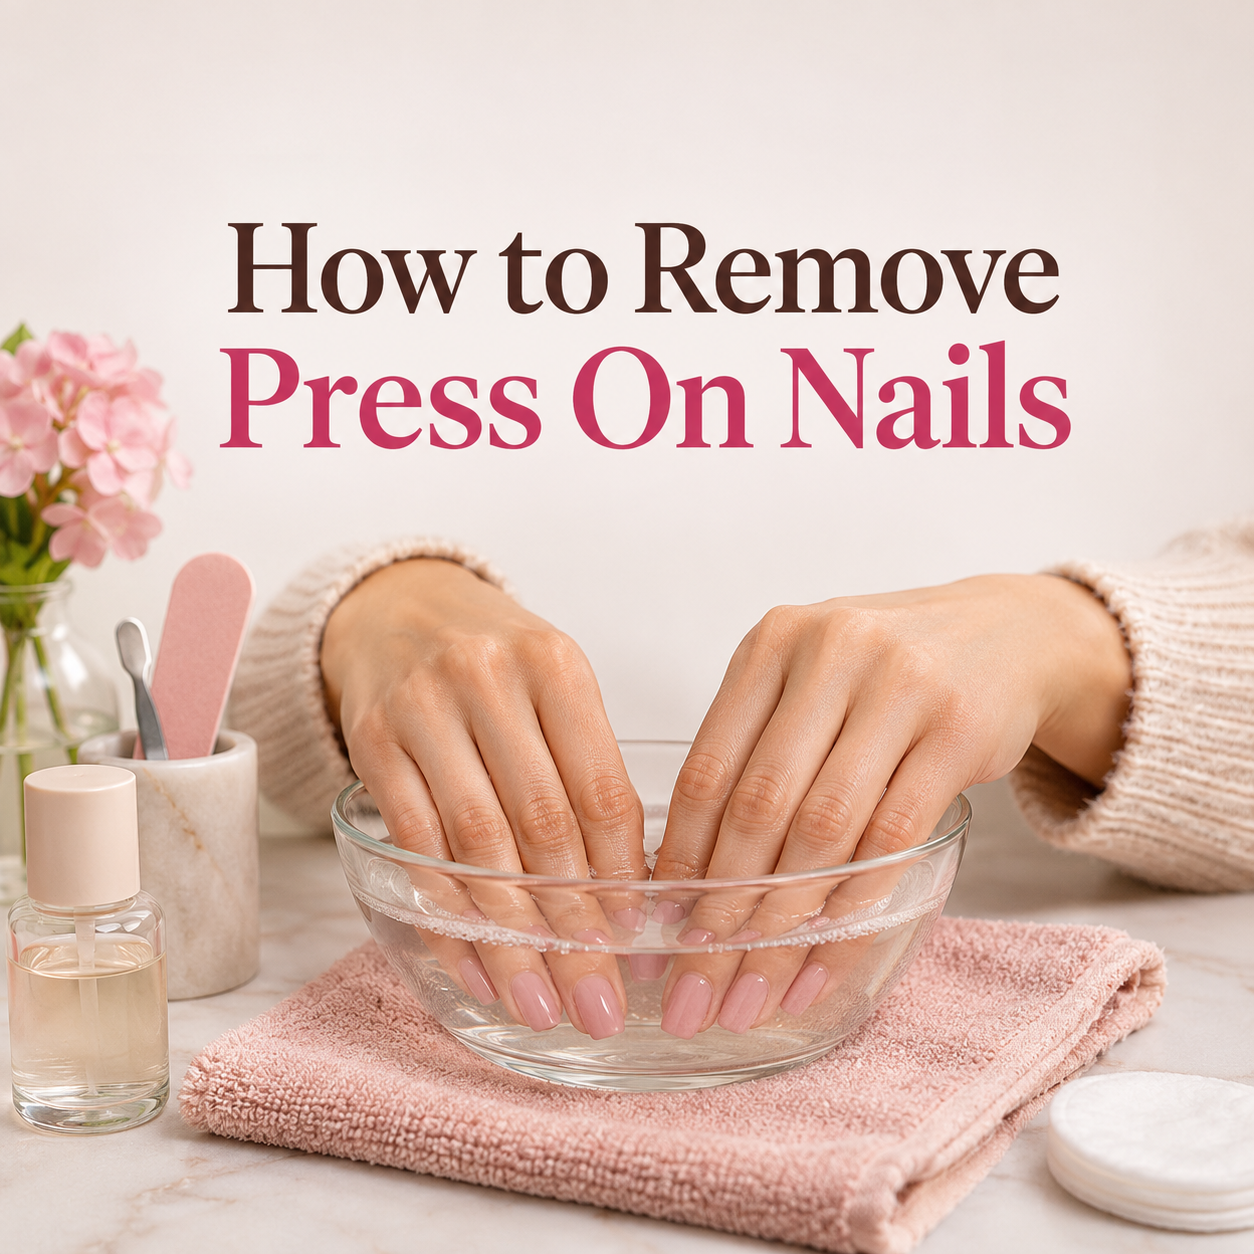
- Prepare the soak. Fill a bowl with warm water and add a few drops of mild soap. Test the water on your wrist first. It should feel pleasantly warm.
- Soak your nails for 10 to 15 minutes. Submerge your fingertips fully. The warm water and soap start to soften the adhesive.
- Apply cuticle oil. Dry your fingers lightly and rub a little oil around the edges of each nail, especially the sides and the cuticle area. Let it sit for a minute so it seeps underneath.
- Lift one edge gently. Starting at the cuticle side or the side wall, slide an orange stick under the edge of the press-on nail. Use a slow, gentle motion.
- Work the stick along the sides. Move the stick back and forth and sideways under the nail so the adhesive keeps releasing.
- Slide the nail off. When it feels loose, it should lift away with almost no effort. If it resists, stop and soak again.
- Repeat on every nail. Return your fingers to the soak between nails if you need to.
- Finish with care. Wash your hands, gently wipe off residue, and apply cuticle oil and hand cream.
Pro tip: If a nail does not budge, do not force it. Add more oil, soak for another 5 to 10 minutes, and try again. Patience is what protects your natural nails.
Method 2: Dental Floss or Orange Stick Lift (For Stubborn Edges)
Sometimes a nail loosens at the sides but stays stuck at one spot, usually near the cuticle or the tip. This is where a strand of dental floss can help. Use this technique after a good soak, never on a nail that is still firmly stuck.
- Soak your nails in warm soapy water for 10 to 15 minutes and apply cuticle oil.
- Find a corner of the press-on nail that has started to lift.
- Slide a piece of dental floss under that corner.
- Move the floss gently from side to side, as if you were slowly sawing, working toward the opposite side of the nail.
- Stop if you feel any pulling on your natural nail, and soak again with more oil.
- When the nail releases, lift it away and move to the next one.
If you do not have floss, a thin plastic cuticle pusher or a wooden orange stick used the same way can do the job. Always keep the tool angled slightly upward toward the press-on nail, not downward toward your own nail.
Method 3: Acetone Soak (For Strong Nail Glue)
If your press-ons were applied with strong nail glue and the warm soak is not enough, acetone is the most effective option. Acetone breaks down the glue quickly, but it is also drying for your skin and nails, so use it carefully and only when you need it.
Safety first
- Work in a well-ventilated room.
- Keep acetone away from flames, candles, and heat sources, as it is highly flammable.
- Avoid contact with broken or irritated skin.
- Protect your table with a towel, since acetone can damage some surfaces and plastics.
Option A: The Bowl Soak
- Apply petroleum jelly or cuticle oil to the skin around your nails to protect it.
- Pour a small amount of pure acetone into a small glass bowl.
- Place a larger bowl of warm water under it if you like, to gently warm the acetone. Never heat acetone directly.
- Dip your fingertips in for 10 to 15 minutes.
- Test one nail with an orange stick. If it lifts easily, slide it off. If it does not, soak a few minutes longer.
Option B: The Cotton and Foil Wrap
- Protect your skin with petroleum jelly or oil.
- Soak a small piece of cotton in acetone and place it on top of the nail.
- Wrap the fingertip in a small square of aluminum foil to hold the cotton in place.
- Wait 10 to 15 minutes, then remove the wrap and slide the nail off gently.
This wrap method uses less acetone and keeps the rest of your fingers away from it. When you are done, wash your hands thoroughly and apply plenty of cuticle oil and hand cream.
Planning to reuse your press-ons? Skip the acetone. It can dull, cloud, or damage the nail tips and any decorations on them.
Method 4: Warm Oil Soak (For Sensitive Skin and Nails)
If your skin is sensitive or your nails already feel weak, an oil soak is a very gentle alternative. It takes longer, but there is almost no risk of dryness or irritation.
- Warm a small bowl of olive, almond, or jojoba oil until it is comfortably warm, not hot.
- Soak your fingertips for 20 to 30 minutes.
- Gently work an orange stick under the edge of each nail.
- Slide the nails off once they loosen, and wash your hands with mild soap to remove the oil.
Which Removal Method Should You Choose?
All four methods work, but they suit different situations. As a general rule, start with the gentlest method and only move to a stronger one if the nails refuse to budge.
- Wearing adhesive tabs? Choose Method 1.
- Wearing nail glue? Try Method 1 first, then add Method 2 or Method 3 if needed.
- Have sensitive skin or weak nails? Choose Method 4.
- Planning to reuse your press-ons? Choose Method 1, 2, or 4 and avoid acetone.
How to Remove Leftover Glue From Your Natural Nails
After the press-ons are off, you may notice a thin film of glue or sticky residue left on your nail. Here is how to deal with it without causing damage.
- Soak again. Give your fingertips another 5 minutes in warm soapy water to soften the residue.
- Rub with oil. Massage cuticle oil over the nail and let it sit for a minute or two.
- Buff very lightly. Use a soft, fine-grit buffer with gentle strokes in one direction, only until the shiny residue is gone.
- Stop when the glue is gone. Over-buffing thins the nail, which is exactly what you are trying to avoid.
- Moisturize. Finish with oil and hand cream.
Never scrape glue off with a metal tool and never pick at it with your fingernails. Both can pull away healthy nail along with the residue.
Aftercare: How to Keep Your Natural Nails Healthy
Taking the nails off correctly is half the job. What you do afterward helps your nails recover and look their best for the next manicure.
- Wash and dry your hands gently. Remove any oil, soap, or acetone left on the skin.
- Apply cuticle oil twice a day. Oil keeps the nail plate flexible and the cuticles soft.
- Use hand cream regularly. Moisturized skin around the nail means fewer hangnails and less peeling.
- Keep nails short while they recover. Shorter nails are less likely to snag, split, or break.
- Wear gloves for chores. Dishwashing and cleaning products dry out nails and skin.
- Consider a nail strengthener. A gentle strengthening treatment can add a protective layer while the nails recover.
- Give your nails a break if needed. If your nails feel thin, bendy, or sensitive, wait a week or two before applying a new set.
Common Mistakes to Avoid When Removing Press-On Nails
- Pulling or peeling the nails off dry. This is the number one cause of nail damage.
- Cutting the soak short. If the glue has not softened, the nail will not release safely.
- Using sharp metal tools. They can cut the skin and gouge the nail plate.
- Using hot water. It does not speed things up and can irritate the skin.
- Over-soaking in acetone. Longer is not better. Excess exposure dries out the nail and surrounding skin.
- Skipping moisturizer. Removal strips natural oils, so aftercare is not optional.
- Re-applying new glue over old residue. Always clean the nail first.
- Wearing the same set for too long. Moisture can get trapped under old press-ons, so remove them when they begin to lift or after about two weeks.
Can You Reuse Press-On Nails After Removing Them?
Yes, in many cases you can. Good-quality press-on nails can often be worn a few times if you remove them gently and clean them properly. Here is how to prepare them for another use.
- Remove the nails with a warm soak or oil method rather than acetone.
- Soak the removed nails in warm soapy water for a few minutes to loosen any old adhesive on the back.
- Gently rub off the glue or tab residue from the inside of each nail with an orange stick or a soft buffer.
- Wipe the inside with a cotton pad dampened with rubbing alcohol and let them dry fully.
- Store them in order, in a small box or the original case, so each nail returns to its matching finger.
- Use fresh adhesive tabs or a thin layer of new glue when you reapply them.
If a nail is cracked, warped, or has lost its shape, it is time to retire it.
Troubleshooting: What If Something Goes Wrong?
| Problem | Likely Cause | What to Do |
|---|---|---|
| Nails will not lift after soaking | Strong glue or too short a soak | Soak 10 more minutes with extra oil, use floss on loosened corners, or switch to acetone |
| Natural nails feel thin or bendy | Surface layers were pulled or over-buffed | Stop applying nails for a week or two, use oil and a strengthener, keep nails short |
| White spots or rough patches | Minor surface trauma from removal or buffing | Avoid buffing the area, moisturize, and let it grow out |
| Dry, tight skin around nails | Soap or acetone exposure | Apply cuticle oil and a rich hand cream several times a day |
| Sticky leftover residue | Adhesive tabs or glue | Rub with oil, soak briefly, then wipe or buff very lightly |
| Redness, swelling, or pain | Irritation, allergic reaction, or infection | Stop using nail products and see a healthcare professional |
When to See a Doctor or Nail Professional
Most people remove press-on nails with no problems at all. However, you should seek advice from a doctor or qualified nail professional if you notice any of the following:
- Redness, swelling, warmth, or throbbing pain around the nail
- Pus or fluid coming from the skin around the nail
- A green, yellow, or dark discoloration on the nail
- Itchy, blistering, or rash-like skin that appears after wearing nail products, which could be an allergic reaction to the adhesive
- A nail that is lifting away from the nail bed and does not recover
- Pain that lasts for days after removal
How to Make Removal Easier Next Time
A little preparation when you apply your press-ons makes removal much easier later.
- Use a thin layer of glue. More glue does not mean a better hold. It only makes removal harder.
- Match the adhesive to the occasion. Use adhesive tabs for short events and glue only when you need a longer wear.
- Prep your nails correctly. Clean, dry nails need less adhesive to hold well.
- Do not wear them too long. Remove them after about one to two weeks, or sooner if they begin to lift.
- Avoid soaking your hands for long periods. Extended time in hot water or harsh cleaners can weaken the bond and trap moisture.
Helpful Items to Keep in Your Nail Kit
Having the right basics on hand makes removal quick, safe, and stress-free. Here are the key items worth keeping together in one small kit, and what to look for in each.
- Cuticle oil: Look for a formula with jojoba, almond, or vitamin E, and a dropper or pen applicator for easy use.
- Orange sticks and cuticle pushers: Choose smooth wooden or plastic ones with a rounded tip.
- Soft buffer block: A fine-grit, gentle buffer is best for smoothing leftover glue without thinning the nail.
- Pure acetone: Keep a small bottle for strong glue, and store it tightly closed away from heat.
- Petroleum jelly: Useful for protecting the skin around your nails during an acetone soak.
- Nail strengthener or treatment: A gentle, nourishing formula helps nails feel stronger between sets.
- Rich hand cream: A thick, non-greasy formula keeps hands soft after soaking.
- A small storage case: Helps you keep reusable press-ons organized and protected.
Frequently Asked Questions
How long does it take to remove press-on nails?
Plan for about 15 to 30 minutes for the full process. Adhesive tabs often come off in around 15 minutes, while nails applied with strong glue can take 20 to 30 minutes or a little longer.
Can I remove press-on nails without acetone?
Yes. Warm soapy water and cuticle oil work well, especially for adhesive tabs and lighter glue. For stronger glue, repeat the soak, add more oil, and use floss or an orange stick gently. It may take a bit longer, but it is kinder to your nails.
Does removing press-on nails damage your natural nails?
Not when you do it correctly. Damage mostly happens when nails are pulled off before the glue has softened. Soaking, using oil, and lifting gently protect your natural nails.
Can I use hot water to remove press-on nails?
Warm water is enough. Water that is too hot can irritate your skin and does not make the glue release any faster.
Can I take off press-on nails without soaking?
It is not recommended. Without softening the adhesive, the nails can pull away layers of your natural nail. A short soak with oil is the safest approach, even for adhesive tabs.
Is it normal for my nails to feel sensitive after removal?
Mild sensitivity or a slightly thin feeling for a day or two can happen, especially after long wear or if acetone was used. Keep your nails and cuticles moisturized. If the sensitivity is strong or does not improve, speak to a healthcare professional.
How soon can I apply a new set of press-on nails?
If your nails feel strong and healthy, you can apply a new set straight away. If they feel thin, bendy, or sore, give them a break of a week or two and focus on moisturizing first.
How many times can I reuse press-on nails?
It depends on the quality of the nails and how carefully you remove them. Many sets can be worn a few times if you avoid acetone, clean off the old adhesive, and store them properly.
Final Thoughts
Removing press-on nails does not need to be difficult or damaging. The secret is patience: soak the nails, add a little oil, lift gently, and never force anything. Start with the warm soapy water method, move to floss or acetone only when you need to, and always finish with moisturizer and cuticle care.
Follow these steps and your natural nails will stay strong, smooth, and ready for whatever manicure you want to try next.
This article is for general information only and is not a substitute for professional medical advice. If you have signs of infection, a severe reaction, or persistent nail problems, please consult a qualified healthcare professional.